Thursday, June 28, 2012

Etched Whiskey Glasses

Yesterday was my brother's birthday and these etched whiskey glasses were the perfect personalized gift!
I started with some nice glasses from Macy's.

Added a vinyl stencil with a graphic I made out of his initials using my Silhouette machine.

Put the glasses in a pyrex and held them in place with dish cloths (very fancy, I know!) and covered the initials with etching cream.

I usually wait much longer than the instructions, this time I left the cream on for about an hour, to make sure the etching is nice and even. Wash it off, remove the stencil and you're left with these personalized glasses!


An easy gift and you could modify this so many different ways!


Wednesday, June 27, 2012

Faux Brick Wall

We've been working hard to finish up our projects in the nursery, but it seems like lately we've just been adding more things to the list. One of those projects was adding a faux brick and I'm so glad we decided to go for it, the brick makes such a difference in the room!
To simplify the installation we chose to install the brick on this wall where there aren't any windows and where the changing table will go.


Lowe's sells brick paneling in 4 x 8 sheets (similar to bead board) so we needed two to cover this wall.


We could have just put up the first one and cut the second to size, but we didn't want the seam to be completely obvious so Eric notched out the half brick all the way down and we put it up starting in the corner and securing it to the wall with a few black screws.


Then we notched out the second piece and carefully fit them together. To get everything to fit as close as possible this involved filing a few of the bricks until the puzzle pieces fit just right. The scraps we pieced together above the door and used black caulking to fill in any of the seams.


For being faux brick paneling, the wall looks great! It adds so much character and just what this room needed.


I'm glad we spent the time and energy to add this and I love how it turned out!

Wednesday, June 13, 2012

DIY Upholstery Experiment

Although my posts have been few and far between we've been busy working away to get the nursery ready. I've been hinting I had quite the ambitious project coming up and I was so intimidated that I kept pushing it off because I didn't think it would turn out.

Well I'm happy to report we have a great new addition to the nursery that is going to get plenty of use!
I've looked everywhere for an upholstered glider that would match the nursery. I was really hoping for something gray, navy, or red. The selection of gliders in those colors is very limited; they cost a ridiculous amount of money and nothing was quite the right size.
A few months ago my mom and I stopped by a local high school fundraiser and found this amazing glider.

It was originally from a very expensive childrens boutique, the perfect size and extremely comfortable, just not quite the right color. No problem, for $20 I figured I could easily have it recovered.
After getting several quotes, I wasn't sure if I was willing to pay the $600+ dollars it would cost to have it redone and debated about buying a new glider in a color I didn't really want.
After watching this great tutorial series from Tip Junkie I wasn't as terrified of ripping it apart and decided to give it a shot. I started by carefully disassembling the entire chair.


Until I was left with this:


Then it was time to reconstruct the chair with my favorite helper.

The toughest part was keeping everything tight and in position while it was being stapled down. With a little help from my husband and a bit of patience I am thrilled with the result!

I used the same navy blue material from Eric's baby bassinet redo. It looks great in the room and now I'm on the hunt for an ottoman.

We've made quite a bit of progress to finish up the room, but it seems like the to-do list just keeps growing!

Wednesday, May 30, 2012

Happy Anniversary My Love!

Two years ago today I married my best friend and in three short months we will welcome a new addition to our family! We are beyond excited and so thankful for all the blessings in our life!


I couldn't imagine a better (or more entertaining) partner in life. Love you babe!

Tuesday, May 29, 2012

Handsome Boy!

I've featured Homie in several of my project posts, but when I get out the camera he typically runs over to see what I'm doing instead of allowing me to capture his cute pose.

The other day we were work on upcycling the baby armoire and our trusty DIY sidekick decided to let me get in a little photo shoot. I've been playing around with my camera to get ready for the baby so I'm thankful he let me capture a few great pictures.... just thought I'd share!


As you can tell it's pretty hard work keeping an eye on everything!


Friday, May 25, 2012

Upcycled Baby Armoire

We found a great set of nursery furniture for Baby O. It is very nice (and extremely heavy!) furniture, but one of the pieces was pretty beat up. The guy we bought it from hadn't even advertised the matching armoire, but offered it to us just in case we were interested. It was a little too big for the room as is, but we figured we could do something with it!

Here is the before:

The door was cracked and there were a few chips, nothing that couldn't be repaired, but I decided the part I was really interested in was the drawer section. Making it a tall tower would fit perfectly in the corner of the nursery!

Eric carefully disassembled the pieces by taking off the molding and unscrewing the pieces, then we just had to put the puzzle back together! Luckily this just involved cutting down a few of the boards and reconfiguring the top.


We were left with all these scraps:


Here it is after being glued and nailed back together. Just in case you were wondering, we used a very complicated (and professional) system of weights and clamps to hold everything in place so it would dry correctly :).


A semi-assembled work in progress:


Eric recut and attached the trim and cut down the top and reassembled it with biscuits so we could keep the detailed edge intact.


Here is it all put together. We still need to patch it up a little bit to fill a few of the cut lines but it will be ready for paint this weekend if the wind cooperates!


Can't wait to reveal the REAL finished product!


Thursday, May 17, 2012

Personalized Welcome Mat

If you've been here before you know I love anything unique and personalized! We recently purchased new rocking chairs and have been working here and there on sprucing up our front porch. Making a welcome mat has been on my to-do list and I recently found the perfect one.

I started with a plain mat and used my Silhouette to cut out stencils. I was hoping the vinyl would help keep the stencil in place, but the mat is so coarse and textured that I might as well have used cardstock.

I used acrylic paint and a Marth Stewart foam blotter to fill in the O with navy blue paint. Because of the texture I knew it wouldn't be perfect so I just tried to keep the color even throughout.

After it was filled in I immediately removed the stencil and let the O dry overnight. Then I added number stencils to layer on top (this time I just used cardstock and put a few pieces of masking tape on the back to keep them in place).


I started filling in the numbers with silver metallic paint but it wasn't covering well so I layered it with plain white.

Here it is ready to welcome our visitors:


We still have some big plans for the porch but this is a nice touch in the meantime!

Thursday, May 3, 2012

Crib Bedding Part 3: Bumper

To finish up the crib bedding I previously posted about here and here, I made a coordinating bumper to match! I know that bumpers are somewhat controversial and not necessary recommended in cribs, but it just doesn't look complete without one! When it comes time for Baby O to actually sleep in his crib we will evaluate whether or not it is a safe option for our family.

I was planning on doing a whole step-by-step tutorial, but this bumper was made specifically to fit our crib so it most likely wouldn't be helpful for me to give you measurements, etc.

A quick breakdown:
1. Cut fabric for front and back of the bumper and piece together into one long panel. I cut my fabric so the seams would hit in each corner and look more like one long piece. Serge the edges to eliminate fraying.
2. Sew (or buy) piping and then pin it along the top and bottom of the front panel (with 2,000 pins) and sew in place.
3. Top with back panel (right sides together and piping inside) and repeat with 2,000 pins and sew in place.
4. Turn fabric right side out and carefully stuff with batting (thickness is up to you).
5. Pin, pin, and pin some more so batting stays in place. Sew vertical lines on top of existing corner seams and then again at equal intervals (I did 1 line for the shorter ends and 2 additional lines for the longer sides). I like how this looks and it keeps the batting in place so it doesn't slide down or bunch up.
6. Sew (or buy) coordinating ties to attach the bumper to the crib.
7. Fold ends of panel underneath and insert two ties, stitch closed.
8. Repeat by adding two ties to each vertical line previously stitched to hold batting in place.
9. Place inside crib and tie, tie, tie!

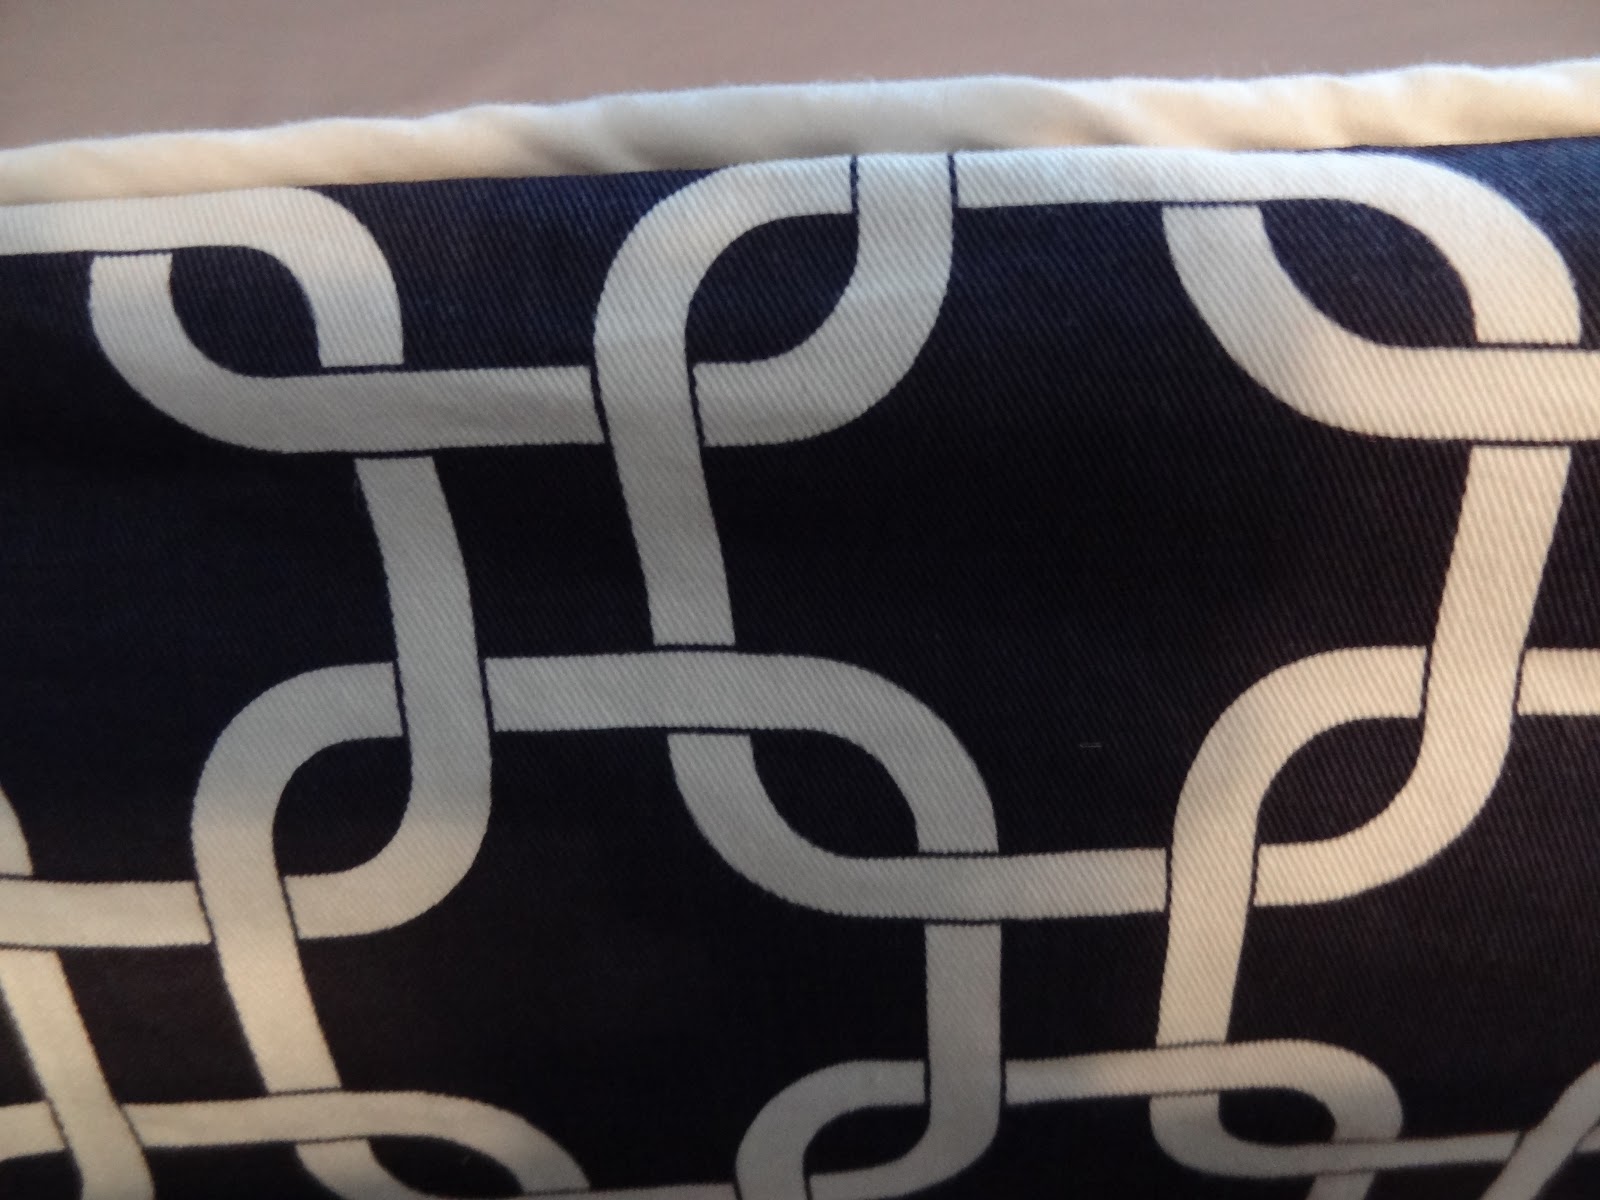
These are the fabrics we chose, a chain print for the front and a navy/white houndstooth for the inside.


And here it is all put together!


I love it! So much better than anything I could buy and specially made for Baby O!

I have a few more sewing projects up my sleeve, but now we can get to really decorating the room.