Tuesday, June 28, 2011

Rain, Rain, Go Away....

I was planning on getting a few new projects painted today, but since it hasn't stopped raining, I took it as a sign to catch up on my recorded shows! And I might as well show you a few more projects I've done for my craft room.

Getting everything situated and organized is still a work in progress, but I'm slowly figuring out what works and what I use all the time. When I first started putting together my craft room it looked something like this:


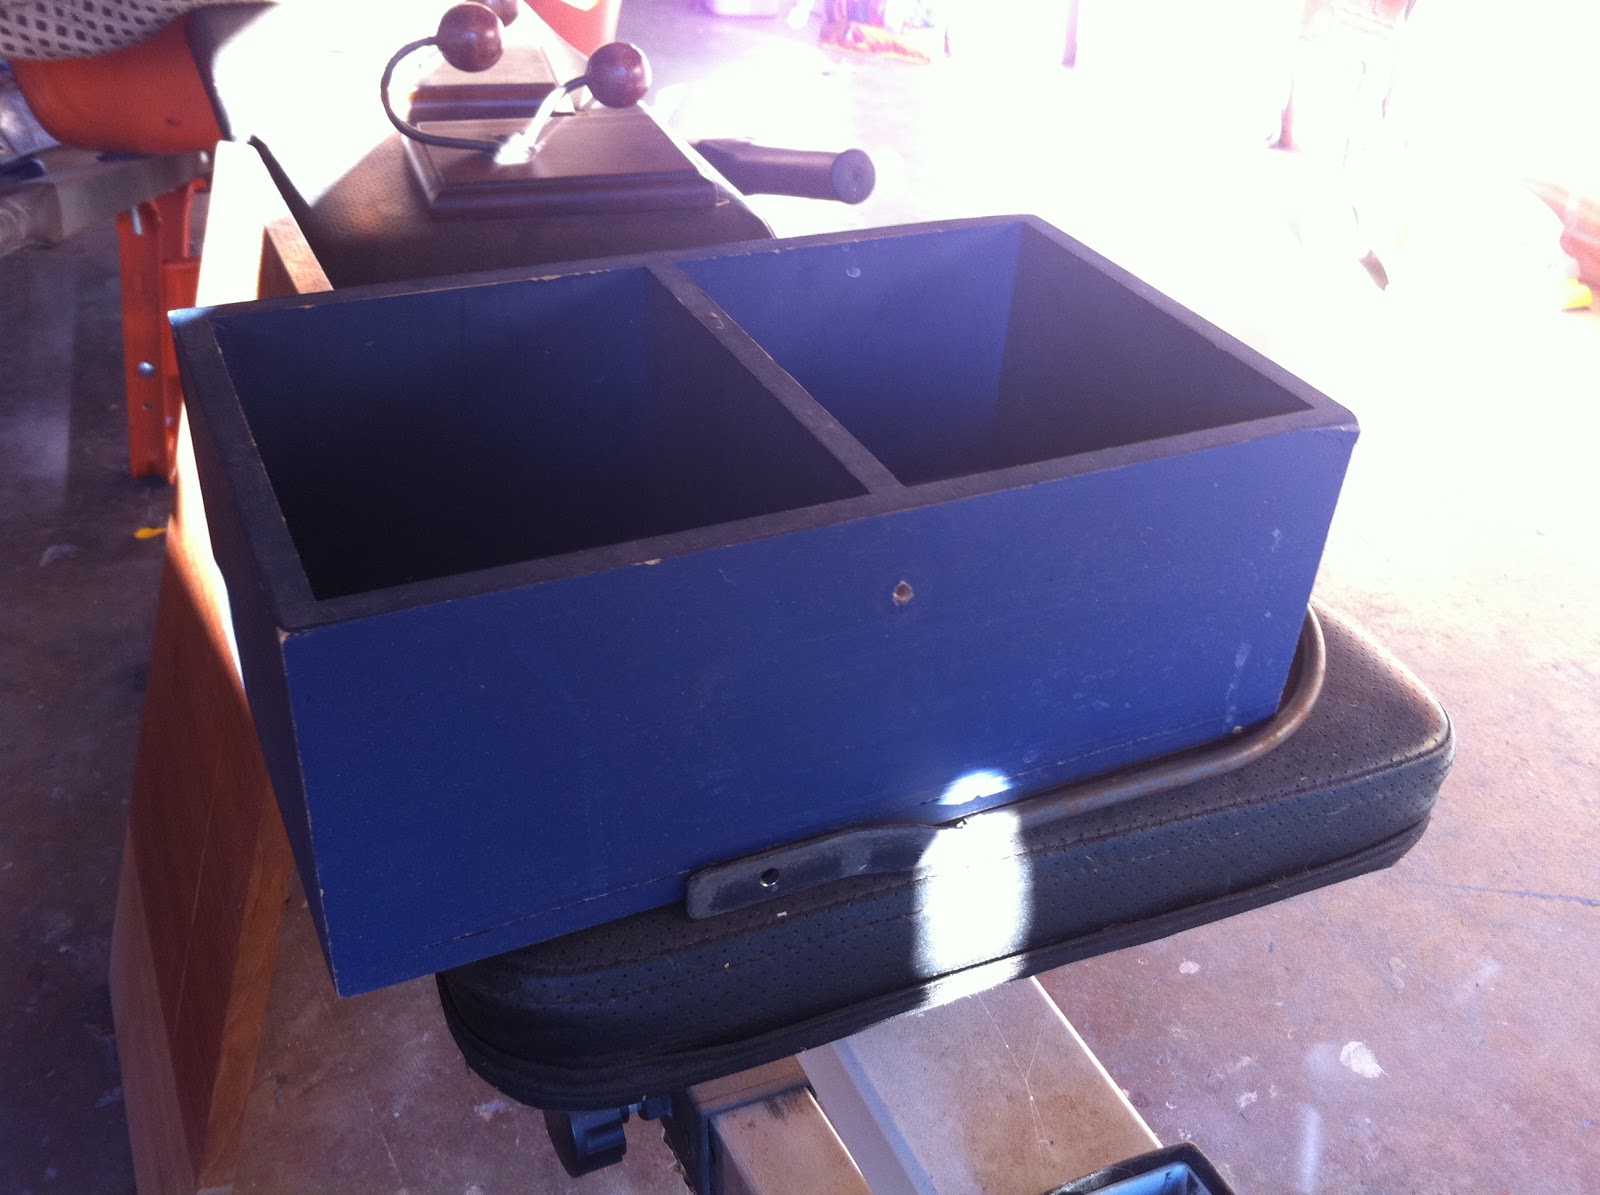
I love my boxes, they are great for organizing all the little things, but I constantly found myself piling projects on top of them. One day on my way home from work I drove past Salvation Army and saw this guy out front. I had to check him out, he looked like the perfect solution! And for $1 I just couldn't pass him up...

He was a little rough around the edges, but after a little primer...


And paint, he turned out like this!

Just perfect on top of the dresser! This dresser was originally part of a bedroom set and came with a matching mirror. I didn't have the need for a mirror in my craft room, but figured it was large enough that it would make a great cork board. It started like this....

 I took it all apart and gave the frame a fresh coat of white paint. Then I used the existing back to trace onto lightweight foam board.

Added some patterned vinyl to the top and some cork from Michael's...

And screwed everything back together. In the end it turned out like this...


All ready for some inspirational pictures!

Monday, June 27, 2011

Productive Weekend

We had a busy weekend full of projects and quality time with friends and family. I managed to wrap up a few things that have been lying around and pick up a few more pieces that need attention....

A few weeks ago I found this little guy at Goodwill for $1. I wasn't sure what I was going to do with it, but it had lots of potential! With summer in full gear, I figured it would make a perfect caddy to hold silverware and napkins for outdoor BBQ's. He started out like this:


And with a little primer, paint, and vinyl ended up like this:

I've seen so many catalogs and projects lately with numbers....I love how that personalizes any item so I figured I'd incorporate that into my caddy with our house numbers.

In between coats of paint, I was also working on a project I've been meaning to finish up for awhile. My husband and I just took a trip to Monterey to celebrate our first wedding anniversary. While we were there we stumbled upon the cutest shop with all kinds of home decor and pictures. Eric liked this one piece of prohibition artwork, but unfortunately it was $300 and too big to fit anywhere in our house. So of course, I copied down the saying and decided to make it myself! It took awhile to find the right size frame, but eventually I stumbled upon this guy:

For $7 he was perfect! I took out the beautiful picture and glass and gave the frame a nice coat of brown paint:
The original picture was printed on a heavy piece of matting and already cut to the perfect size, so I just turned it over and painted it tan. Then came the painstaking part of the project....cutting out all the lettering on vinyl using my Silhouette machine (easy), piecing the words together (not too bad), and lining them up straight and centered on the background (very frustrating)! After they were all situated just right, I taped off any of the exposed background. 

Then I gave it a coat of tan paint (background color) to hopefully seal off any bubbles where the vinyl wasn't completely adhered to the mat.


Then finally a coat of brown paint.


In the end, it turned out like this:
What do you think? I may distress it to give it more of an aged look..........but for now it's just waiting to be hung up in our pool room!

I'm linking up to 20 Below Thursdays over at Christina's Adventures!

Friday, June 24, 2011

Bookcase Makeover

At the same storage auction my husband found this great cabinet/bookcase:
As you can tell it was put to use on our garage until I had time to give it a fresh coat of paint. This cabinet was perfect to hide away my sewing machine and serger and store other items I use frequently. After a good scrub down and MANY coats of primer and paint, this guy found a new home inside:
 I primed and painted the cabinet and existing hinges and added some cute knobs from Michaels. At $2.00 each I couldn't go wrong with these....
Now all I needed was some organizational pieces for the open shelves. I found this old oak CD case at Goodwill for $0.99:

I pried out the plastic pieces and gave it a good coat of paint. Taped off a small section and added some chalkboard paint so I could use it to hold all my acrylic paints. It turned out like this:
You would think that is all the furniture our little mud room could hold........but I have a few more projects before the whole room reveal! More to come soon...

- Lauren

Thursday, June 23, 2011

The Evolution Of My Craft Space...

I first discovered the world of craft blogging about 6 months ago... ever since I've been hooked! As I stumbled from one amazing blog to the next it soon became apparent that I NEEDED a craft space. Like right that very second. After seeing so many inspiring rooms I couldn't think about anything else~!

A little background about us: we've been married for just over a year but bought our house about 2 1/2 years ago from a couple who had owned it for over 50 years. It had been well taken care of, but just wasn't quite our style. We ripped up carpet, took out doors and windows, and refinished just about every surface we could. Our house was built in 1948 so it's full of character and charming details, but definitely lacks storage space. We have a mud room of sorts off our kitchen which also leads to the garage.

When we bought our house it looked like this:
 As you can imagine, the paneling, the pink carpet, and everything had to go! We stripped the whole room down to this:
Added insulation and then new sheet rock and texture. I don't have a picture of the whole room, but it looked like this:

And it pretty much stayed like that for awhile. We put some old cabinets down there but it was the catch all for things that didn't have a place. We called it the "dog room" because it's where these two stay when we're gone:

 Although they may not like me invading their space I knew it was the perfect place to set up my new craft room. Now I just needed some furniture! Of course I wanted something cute, but also something functional where I could hide away the clutter. My husband found these great pieces at a storage auction and thought they would be perfect for my new craft space.

First was a matching desk and dresser from an old bedroom set:

Both were in pretty bad shape but had so much potential. It took a bit of scrubbing, a little glue, and lots of primer and paint, but they turned out like this:


I love the detail and feminine shape. What do you think?

There is so much more to my craft room, but that will have to wait for another post!

Thursday, June 9, 2011

New Blog!

Welcome! I'm so excited to be here and start sharing some of my crazy projects with you! I've been 'crafty' my whole life but have just recently been exposed to the blog world of crafting. As you can imagine, with all the great ideas out there it's easy to get addicted!

I'm hoping this blog will be a great way to share those projects and connect with all the talented ladies (and gentlemen) out there.

More to come soon!

- Lauren