To finish up the crib bedding I previously posted about here and here, I made a coordinating bumper to match! I know that bumpers are somewhat controversial and not necessary recommended in cribs, but it just doesn't look complete without one! When it comes time for Baby O to actually sleep in his crib we will evaluate whether or not it is a safe option for our family.
A quick breakdown:
3. Top with back panel (right sides together and piping inside) and repeat with 2,000 pins and sew in place.
6. Sew (or buy) coordinating ties to attach the bumper to the crib.
7. Fold ends of panel underneath and insert two ties, stitch closed.
8. Repeat by adding two ties to each vertical line previously stitched to hold batting in place.
9. Place inside crib and tie, tie, tie!
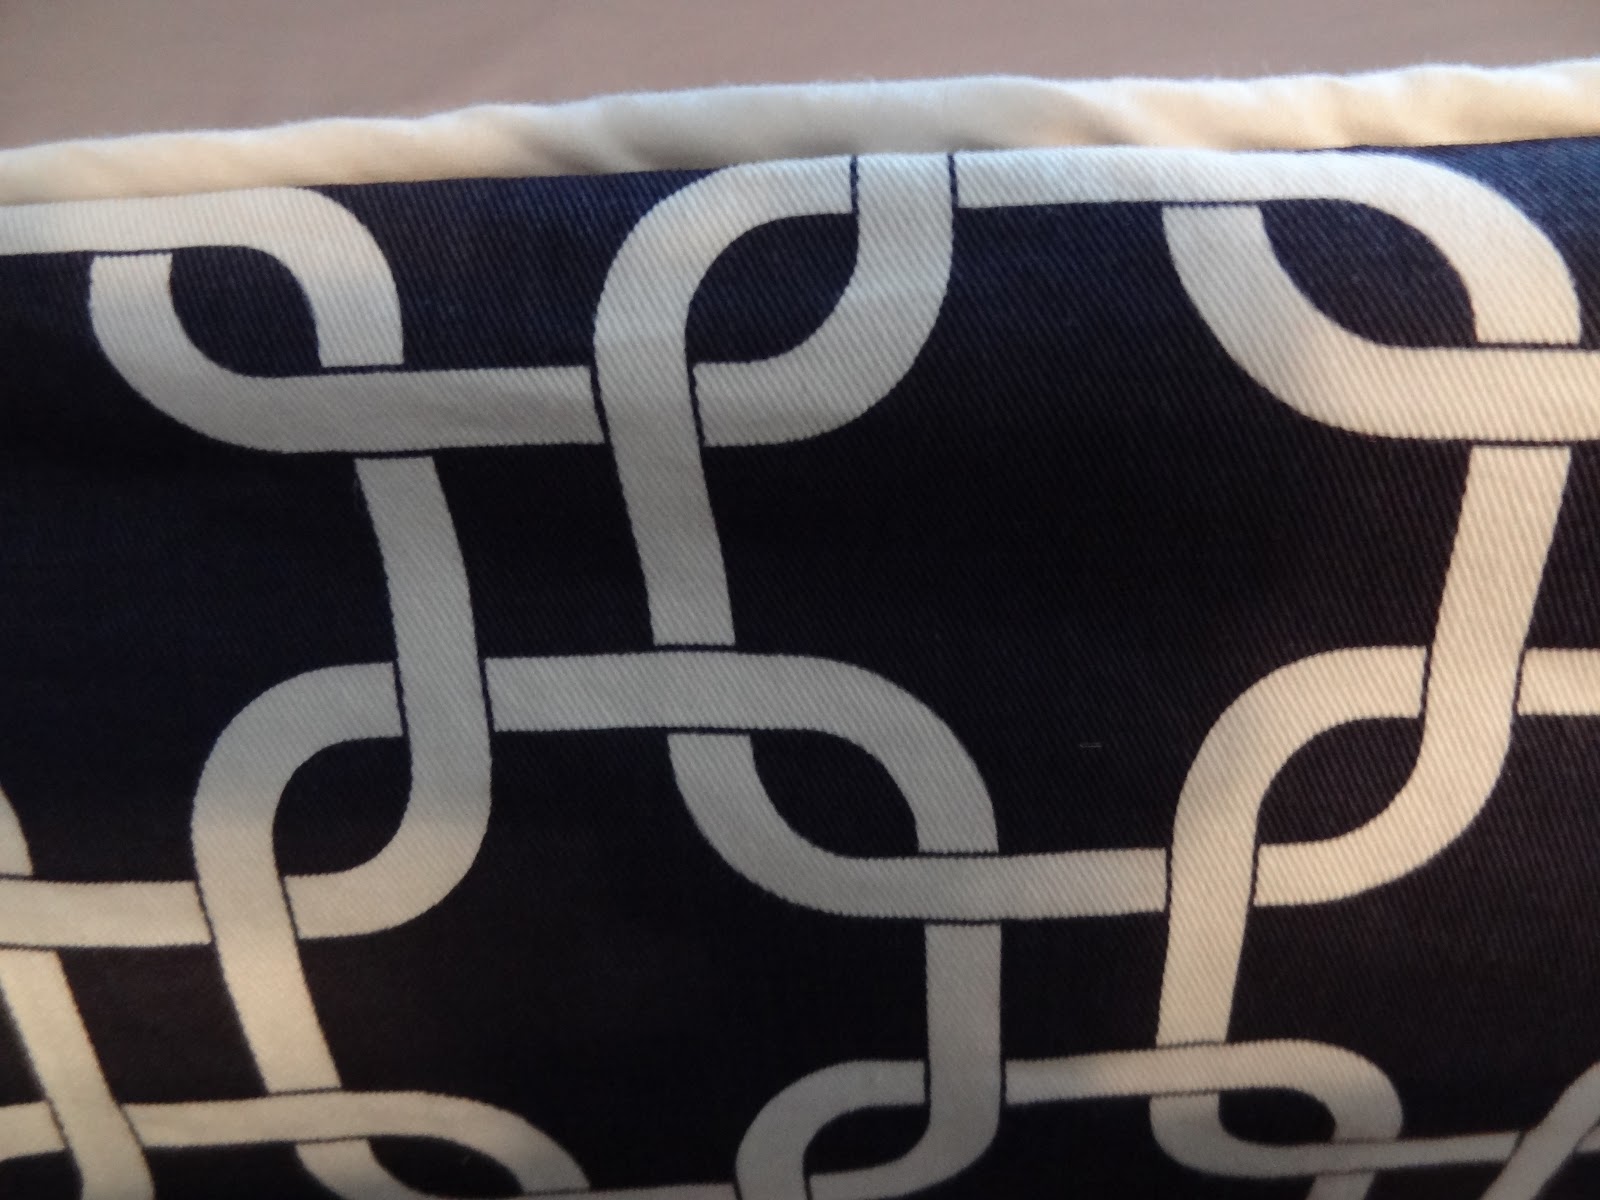
These are the fabrics we chose, a chain print for the front and a navy/white houndstooth for the inside.


And here it is all put together!


I was planning on doing a whole step-by-step tutorial, but this bumper was made specifically to fit our crib so it most likely wouldn't be helpful for me to give you measurements, etc.
A quick breakdown:
1. Cut fabric for front and back of the bumper and piece together into one long panel. I cut my fabric so the seams would hit in each corner and look more like one long piece. Serge the edges to eliminate fraying.
2. Sew (or buy) piping and then pin it along the top and bottom of the front panel (with 2,000 pins) and sew in place.3. Top with back panel (right sides together and piping inside) and repeat with 2,000 pins and sew in place.
4. Turn fabric right side out and carefully stuff with batting (thickness is up to you).
5. Pin, pin, and pin some more so batting stays in place. Sew vertical lines on top of existing corner seams and then again at equal intervals (I did 1 line for the shorter ends and 2 additional lines for the longer sides). I like how this looks and it keeps the batting in place so it doesn't slide down or bunch up.6. Sew (or buy) coordinating ties to attach the bumper to the crib.
7. Fold ends of panel underneath and insert two ties, stitch closed.
8. Repeat by adding two ties to each vertical line previously stitched to hold batting in place.
9. Place inside crib and tie, tie, tie!
These are the fabrics we chose, a chain print for the front and a navy/white houndstooth for the inside.

And here it is all put together!
I love it! So much better than anything I could buy and specially made for Baby O!
I have a few more sewing projects up my sleeve, but now we can get to really decorating the room.
Love it! I also love how you said "with 2,000 pins" hahahaha
ReplyDeleteThis turned out adorable! There's nothing like unique personal handmade baby items - beautiful :)
ReplyDeleteThanks for linking up to our Friday Block Party at Curb Alert! Hope to see you again this Friday.
Tami
Wow! That is so cute. Great job! :)
ReplyDeleteVery cute! well done! from your newest member!
ReplyDelete