Who wouldn't want a place to put your hot straightener or curling iron so you don't have to wait for it to cool down to put it away?
I have a few that I use daily, but last night I made a few for my sister and thought I'd post a little tutorial. She is going away to college in a few weeks and we all know how precious space is in a dorm room so I know she'll put them to good use!
First step is to gather your materials:

- 1/2 yard of printed fabric of your choice (I used a cotton knit)
- 1/2 yard of ironing board material (this is usually with the utility fabrics)
- 1 package of extra wide double fold bias tape (or you can make your own out of another fabric)
- Optional: 1 package of jumbo rick rack
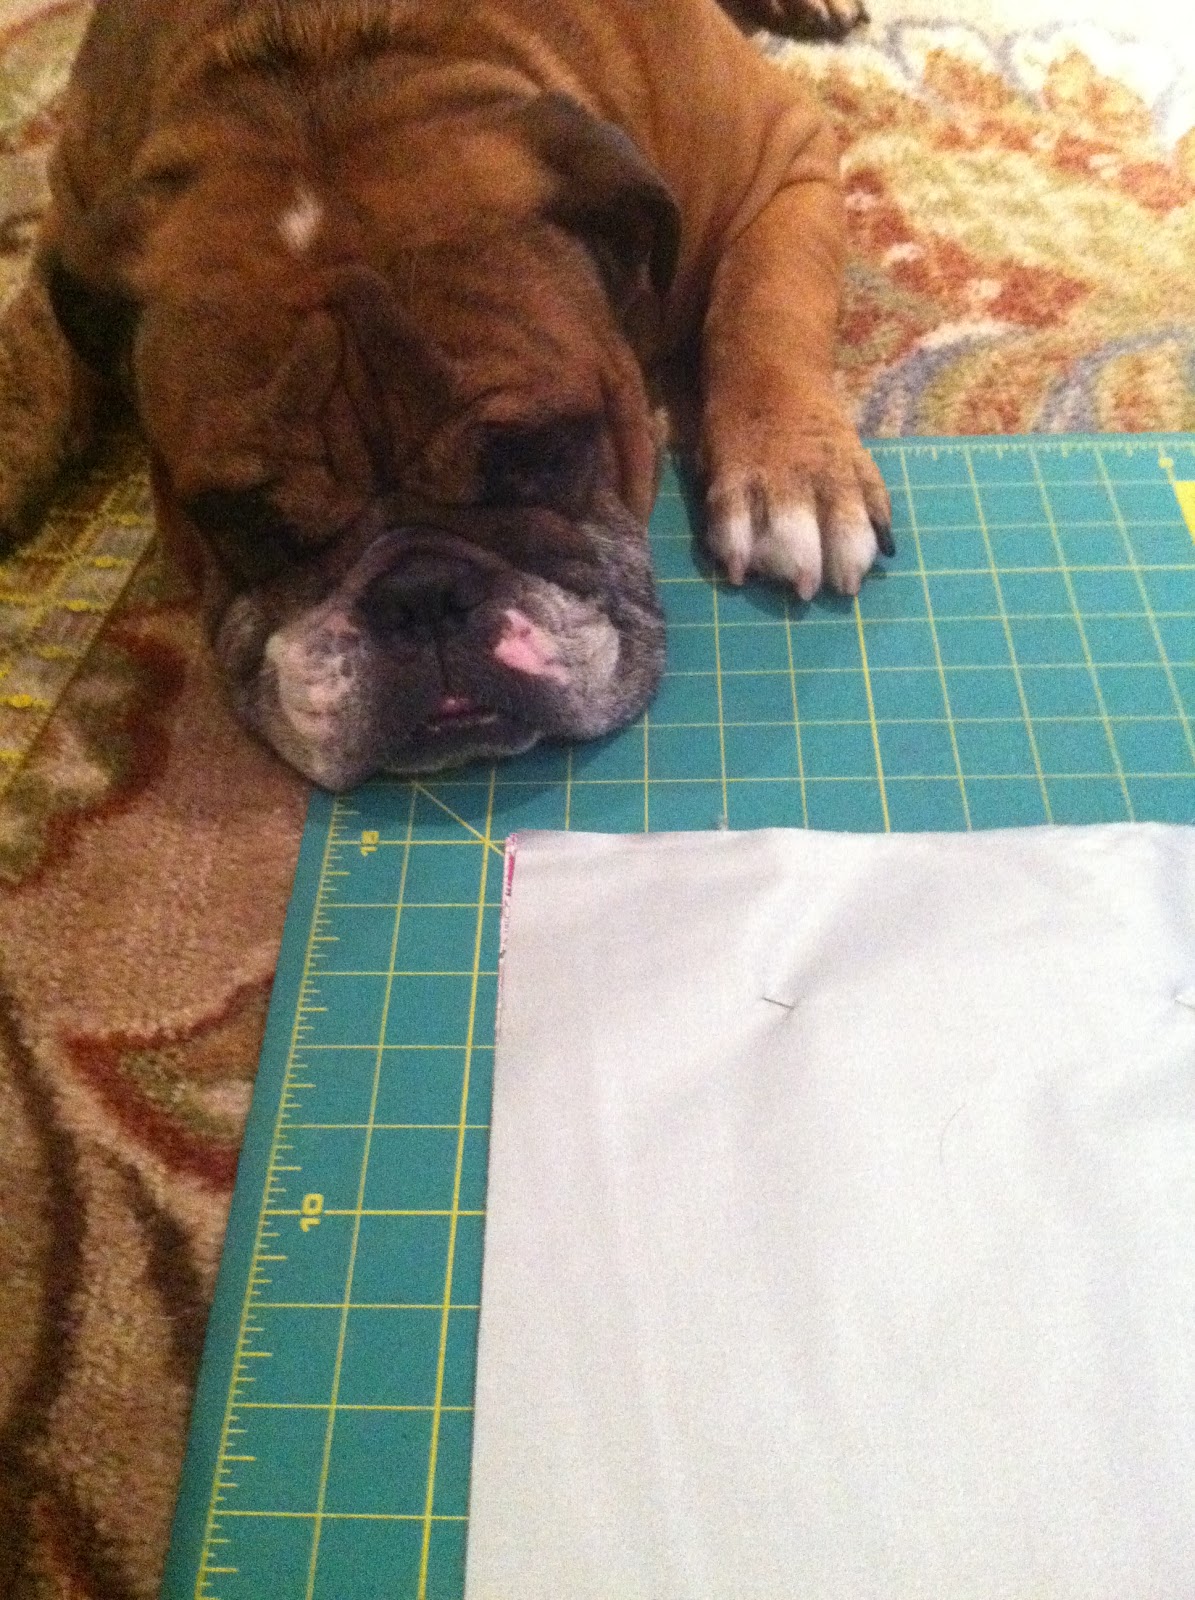
- Cut an 11"x13" rectangle from both the printed fabric and ironing board material.
- Cut an 11"x7.5" rectangle from the printed fabric ONLY.

Step 2: Finishing front pocket.
Using the 11"x7.5" piece, fold over one long side (11") approximately 1/2" and sew down.

Flip over and place a rick rack over stitching and stitch in place.

Step 3: Stitching together bag.
Using larger pieces, put wrong sides together and use pins to hold in place. Line up pocket rectangle with bottom and pin in place. Stitch around entire perimeter approximately 1/4" from the edge.

Step 4: Adding bias tape.
Cut length of bias tape to go around top half of fabric. Pin in place and stitch down.

Fold in half lengthwise, pin, and stitch bottom together.

Add bias tape to finish off outer edges (folding down each end so it won't unravel). You want it to overlap the first piece of bias tape you sewed on so I started the bias tape just below the curve, approximately 3/4 of the way to the top.

Stitch down the length of the bag, stopping just before you reach the corner.

Remove bag from machine, fold bias tape around corner and continue stitching. Remember to cut a little extra at the end so you can fold over for a finished edge.

That's it! Wasn't so bad was it?
Now you have a nice heat resistant bag with a little pocket for the cord.

I made her 2 of these and a little matching bag for her own sewing kit.

What do you think?
I'm linking up to Time to Shine @ Diamond in the Stuff and 20 Below @ Christina's Adventures!
Very cute! That would be really useful when you're traveling and need to pack you straighter right after using it! That's when I always end up needing something. Thanks for the tutorial!
ReplyDeleteAngela (confoundedcrafter.blogspot.com)
Very very cute! I really like the bias tape to finish it off too :)
ReplyDeleteThanks so much for linking to "20 Below Thursday"! And thanks for linking back to my party too :)
Darling...thanks!!
ReplyDelete